Document edit
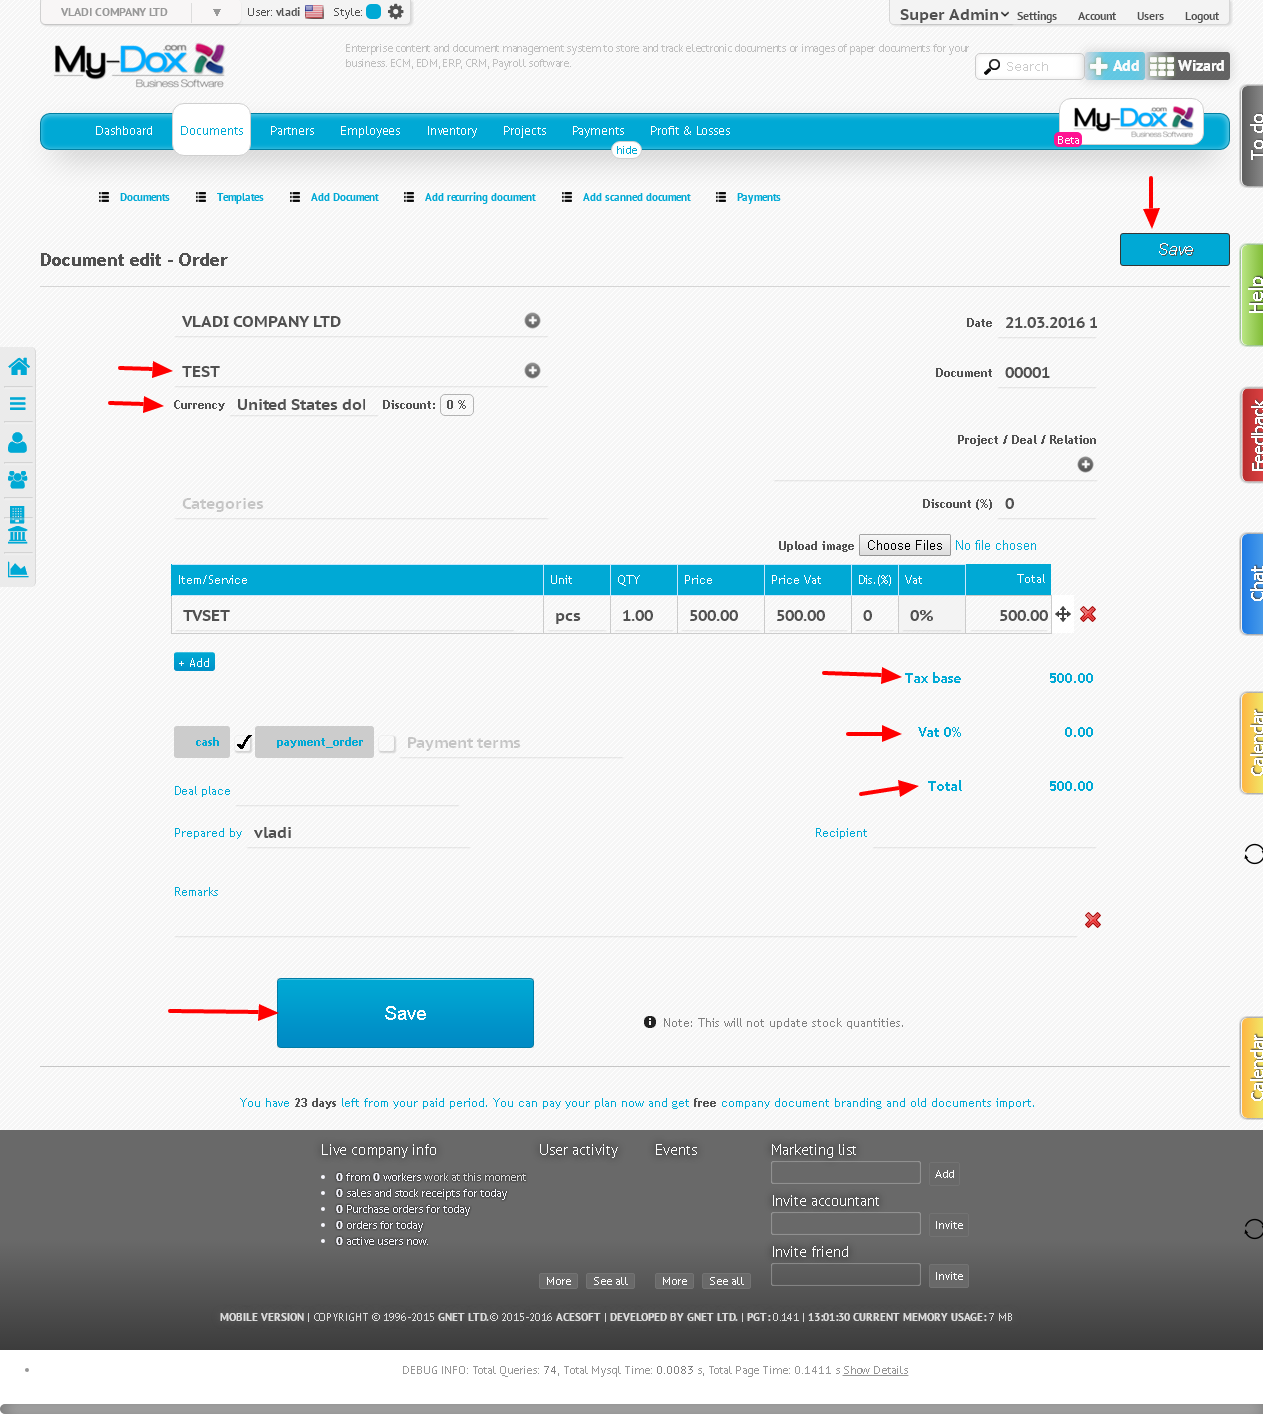
By selecting Edit document, selected document will load and you will see the following:
Name of your company (1). If you wish, you can delete the current and select Other from the drop-down list of your companies.
Name of Counterparty (2). Also, if you like you can change it by deleting the writing, and select from the list.
When selected counterparties Field Currency (3) will show the set currency. You can change it if you wish.In (4) you will see% discount that you set for this Contractor.
If you want, you can change the date (5) of the document. Click and select from the pop-up calendar.
If you wish, too, can change and number of the document (6).
In (7) you will see Shop / Object / transaction to which the document you are editing. If you want, delete the current text and choose from your proposed sites.
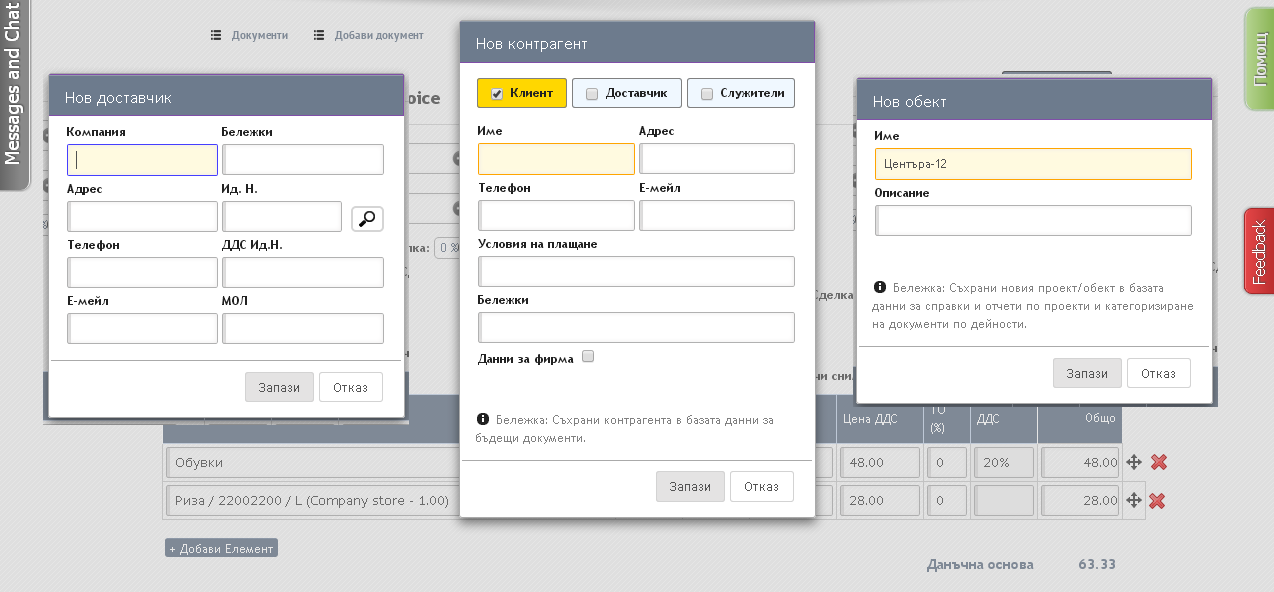
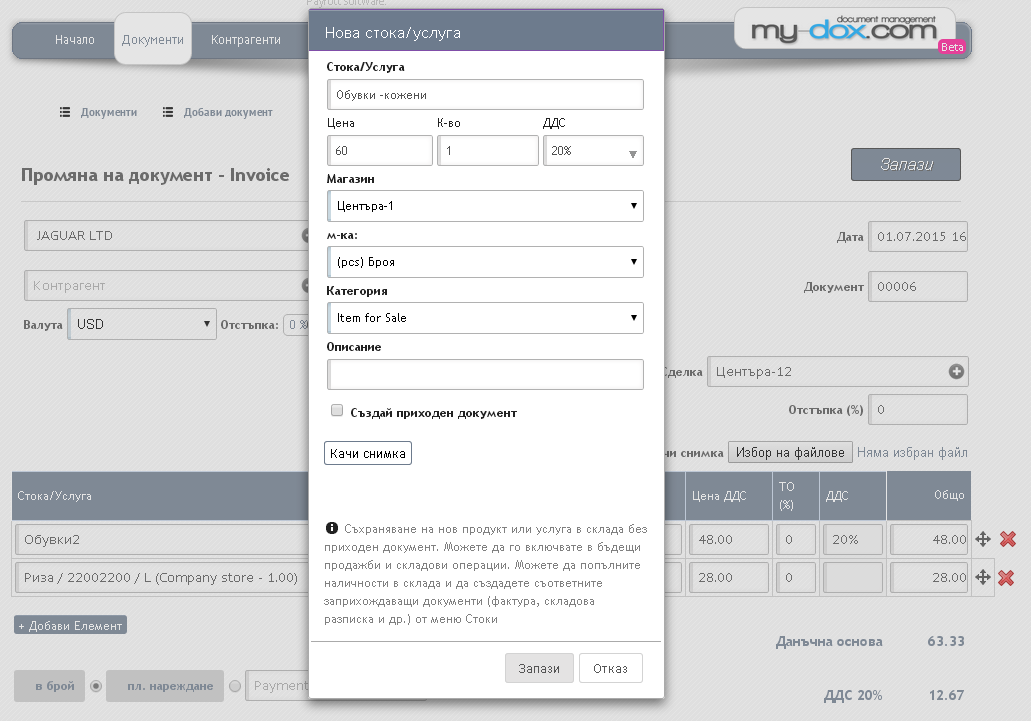
Use the "+" buttons found in the fields 1, 2, 7 if you want to add the new company respectively to your company or counterparty Shop / Object. The system will also offer to do it, if you type in these fields other than create a Company, Counterparties, Shops. The same will offer and if you enter non-conforming goods in field (10).
Enter (or edit) Discount Document (8), which will be applied to the final price.
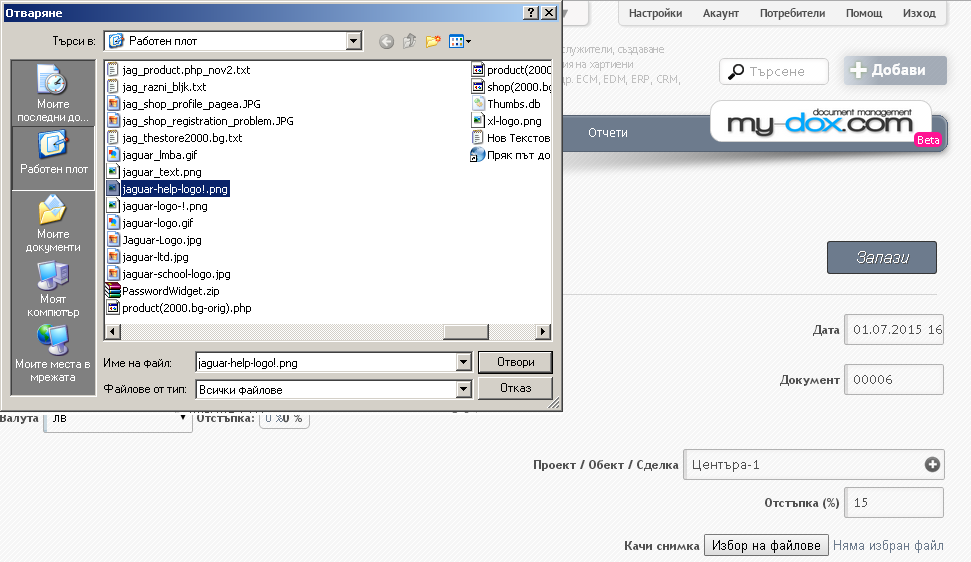
Edit the product / s / for which the document (10). You can add more using the Add button element (11). From (10.b) can delete and rearrange them. If you wish, you can add photo / s / to the document. Please use the button Select files and select from your computer, one or more files you want to upload and give OK.
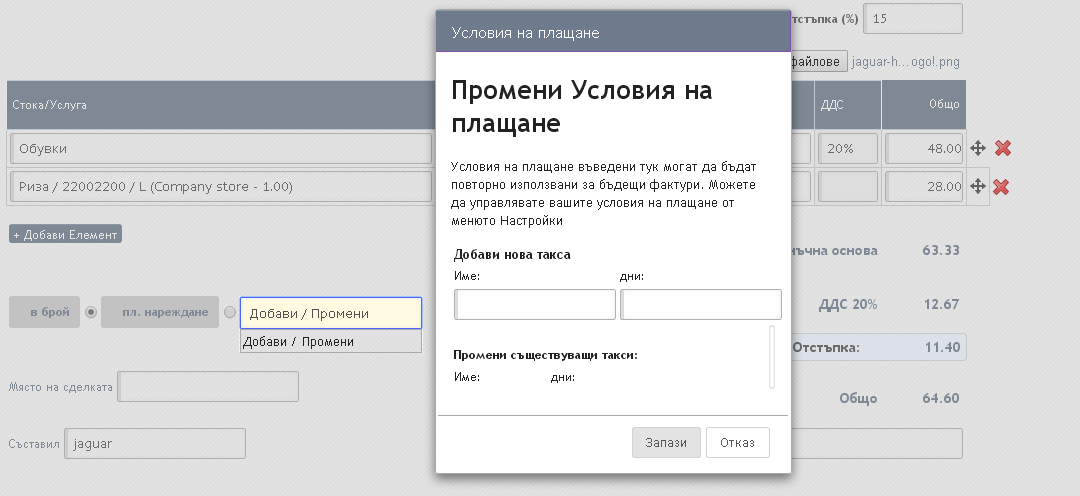
Select Payment by (12), and if you want to change in payment terms, click on (13), and select from available or click on the Add / change.
Enter a name for the new conditions and days to add new conditions.
In (14) you will see information about the document, Tax base amount VAT discount (if any), Total.
If you wish, enter / change Spot transaction (15), composition (16.a), Recipient (16.b).
Add Comments (17.a). To add more comments, use the Add button element (18). You can delete and rearrange remarks buttons (17.b)
Finally, use the Save button (19) or This(20) in the upper right corner to save the changes.


